TL;DR
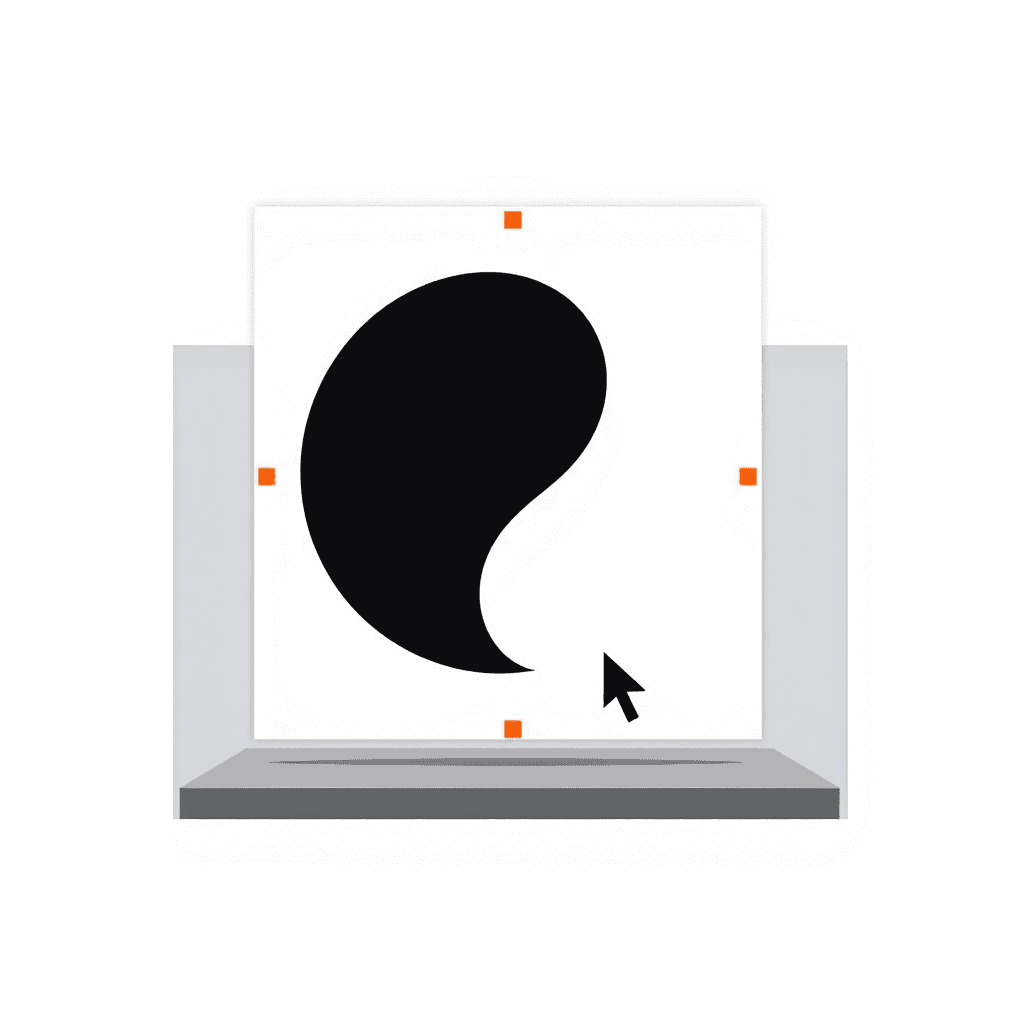
- How to make vector illustration files: build them from primitive shapes and paths in Illustrator, Inkscape or Figma, then export as SVG — the file stores maths rather than pixels, so it stays sharp at any size.
- You do not need to draw. Most flat vector work is rectangles, circles and triangles combined with three boolean operations.
- AI generators output raster images, not vectors. Reaching a clean SVG takes an auto-trace pass plus manual removal of stray anchor points.
- Keep the path count low. A traced illustration carrying thousands of nodes can load slower than the PNG it was meant to replace.
Learning how to make vector illustration files matters the moment an image has to appear at more than one size — a logo, an icon set, a diagram, anything headed for print.
Vector formats store shapes as coordinates and curves. Raster formats store a fixed grid of pixels. That single difference is why one scales forever and the other falls apart.
If you are choosing between formats rather than building the artwork, start with SVG vs PNG for web illustrations — SVG carries around 99% browser support, and that post covers when each format wins. This guide is about producing the vector in the first place.
What you need
| Tool | Cost | Best for | Learning curve |
|---|---|---|---|
| Adobe Illustrator | Subscription | Production illustration, print colour management | Steep |
| Inkscape | Free, open source | Learning, one-off SVGs, path editing | Moderate |
| Figma | Free tier | UI-adjacent illustration, team collaboration | Gentle |
| Affinity Designer | One-off licence | An Illustrator alternative without a subscription | Moderate |
Any of the four will produce a valid SVG. Start in Figma if you already use it daily — the shape tools are the same everywhere, and the concepts transfer.
Whichever you pick, the decisions that matter come earlier: the brief, the references and the thumbnails. Those are the first three of the six steps to making an illustration.
The shape-first workflow
This is the route that removes drawing skill from the equation. Every step is placement and arithmetic rather than freehand control.
1. Block in with primitives
Place rectangles, circles and triangles for the major masses. Ignore detail completely — you are establishing proportion and silhouette.
Work at the size the illustration will actually be used. Shapes that look balanced on a 2,000 px canvas often collapse at 200 px.
2. Combine with boolean operations
- Union — merges overlapping shapes into one outline. Builds compound forms.
- Subtract — cuts one shape out of another. Produces crescents, rings and notches.
- Intersect — keeps only the overlap. The fastest route to lens and petal shapes.
A surprising amount of professional flat illustration is two primitives and one boolean. Reach for these before the pen tool.
That is why vector and flat go together so naturally — the flat style's five-colour palette and single shadow direction are covered in how to create flat illustrations. For work on a 30-degree grid, add isometric projection, which is almost entirely straight edges and flat fills.
3. Use the pen tool sparingly
When you do need a custom curve, place as few anchor points as possible — typically at the extremes of each curve, where it changes direction.
Every extra point is another thing to misalign later, and another few bytes in the exported file.
4. Colour with flat fills
Assign solid fills before adding any gradient or texture. Check the composition in greyscale; if shapes stop separating without hue, fix the contrast rather than adding colours.
5. Clean up before export
- Simplify paths — remove redundant anchor points on curves that do not need them.
- Expand strokes to outlines so line weights do not shift when the file is scaled.
- Delete hidden geometry — shapes tucked behind other shapes still ship in the file.
- Flatten unused layers and groups, and give the remaining ones real names.
Converting AI-generated output to vector
Image generators return raster files. Getting to a genuine vector is a conversion, not an export, and the quality depends entirely on how clean the source is.
- Start from flat artwork. Auto-trace handles solid colour regions well and gradients, grain and soft shadows badly.
- Trace it. Image Trace in Illustrator, or Path then Trace Bitmap in Inkscape.
- Reduce the colour count before tracing. Fewer colours means fewer paths and a far more editable result.
- Rebuild the geometry. Replace traced near-circles with real circles and traced straight edges with real lines.
Expect to spend longer cleaning a trace than drawing simple artwork from scratch. Tracing pays off for organic or detailed work, not for shapes you could have placed in five minutes.
Logos are the one case where the cleanup is always worth it, because the mark has to be exact at every size — that whole path is in how to create a logo using AI.
A useful shortcut is to treat the generated image as a reference layer rather than a source. Drop it into the canvas, lock it, reduce its opacity, and build real shapes on top of it.
You get the composition and colour decisions the model made, with none of the traced geometry — and the result is a file you can actually edit later.
What is actually inside an SVG
An SVG is plain XML, which is why it behaves differently from every other image format you work with. Opening one in a code editor is the fastest way to understand what your exporter is doing.
Four things account for most of what you will see:
- The viewBox — four numbers defining the coordinate space. This, not the width and height, is what makes the file scale.
- Path data — the
dattribute, a string of coordinates and curve commands. Long strings mean many anchor points. - Fill and stroke — colour applied as attributes you can rewrite by hand or drive from CSS.
- Groups — nested containers that mirror the layers in your editor, including the empty ones you forgot to delete.
Because colours are just attributes, one SVG can serve both light and dark modes. Replace hard-coded fills with currentColor and the artwork inherits its colour from surrounding CSS.
Exporting an SVG that behaves
- Set the viewBox so the file scales responsively instead of locking to fixed pixel dimensions.
- Run it through SVGO to strip editor metadata, comments and unused definitions.
- Round coordinate precision to two decimal places. Nobody needs eight.
- Check the rendered file size. If the SVG is larger than an equivalent PNG, the path count is the problem.
One step that gets skipped almost universally: add a <title> element as the first child of the SVG. Screen readers announce it, and an inline SVG without one is silent to anyone not looking at the screen.
For decorative artwork that carries no information, do the opposite — mark it aria-hidden="true" so it is skipped rather than announced as an unlabelled graphic.
Four mistakes that make vector work look amateur
- Inconsistent stroke weights. Pick one or two weights for the whole illustration. Three or more reads as accidental rather than deliberate.
- Leaving strokes unexpanded. Scale a shape with a live 2 px stroke and the line stays 2 px while everything else grows, quietly wrecking the proportions.
- Optical misalignment. Mathematically centred is not always visually centred. A triangle centred by its bounding box looks off; nudge it until it looks right.
- Too many nodes. A curve needing eleven anchor points usually needs three. Extra points create the subtle lumpiness that separates traced work from drawn work.
The last one is worth checking every time. Turn on node display before export and look at the density along your curves.
Using Illustrations AI as your reference layer
Generators return raster, not vector, so they cannot hand you a finished SVG. What they can do is remove the blank-canvas problem, which is where most vector work actually stalls.
- Generate the composition first. Describe the subject, get several options in under 20 seconds each, and pick the arrangement that reads best.
- Lock it as a reference layer at reduced opacity, then build real shapes on top with the primitives and booleans above.
- Keep one style across the set so a whole icon family shares line weight and palette before you have drawn a single path.
You end up with the model's colour and composition decisions and none of its traced geometry — a file you can actually edit. Everything generated carries full commercial rights, so nothing blocks shipping the finished vector.
For prompt wording that produces cleanly traceable flat artwork, see 60 AI illustration prompts.
Build it from shapes, not from scratch
Place the primitives, combine them with three boolean operations, keep the anchor points few, and clean the file before it ships.
That workflow produces usable vector illustration without a single freehand line, which is the whole point of working in vector in the first place.
Generate flat artwork to trace or adapt — created in under 20 seconds, full commercial rights, no credit card required.
FAQs

Meet the Author
Vignesh Rao Y
Vignesh is driven by ideas that create a tangible impact. At Illustrations AI, he specializes in content that helps designers and marketers speed up their creative workflows. When he's not turning complex ideas into simple visuals, you might find him lost in a book, jotting down ideas in his notebook, or connecting the dots others overlook.